TL;DR
A portable solar power bank stores electricity in a rechargeable battery and can replenish it with a built-in or separate solar panel. Small built-in panels usually add charge slowly, so compare watt-hours, output power, panel size, weight, and weather ratings—and charge from an outlet before a trip when you can.
Compare battery capacity in Wh when available; mAh alone doesn’t tell you how much usable energy reaches your devices.
Treat a compact built-in solar panel as a slow backup charger, not a dependable way to refill a drained bank overnight.
Charge the battery from an outlet before travel when you can, then use solar as extra support.
Check output wattage and compatible ports before expecting a bank to charge a laptop or other higher-power device.
Compare weather ratings, weight, panel size, warranty, and charging estimates for the specific trip you’re planning.

Get travel and outdoor gear delivered free with Prime
- Fast, free delivery on millions of items
- Prime Video, Amazon Music and more included
- Member-only deals all year
What a portable solar power bank can—and can’t—do
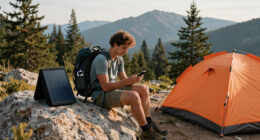
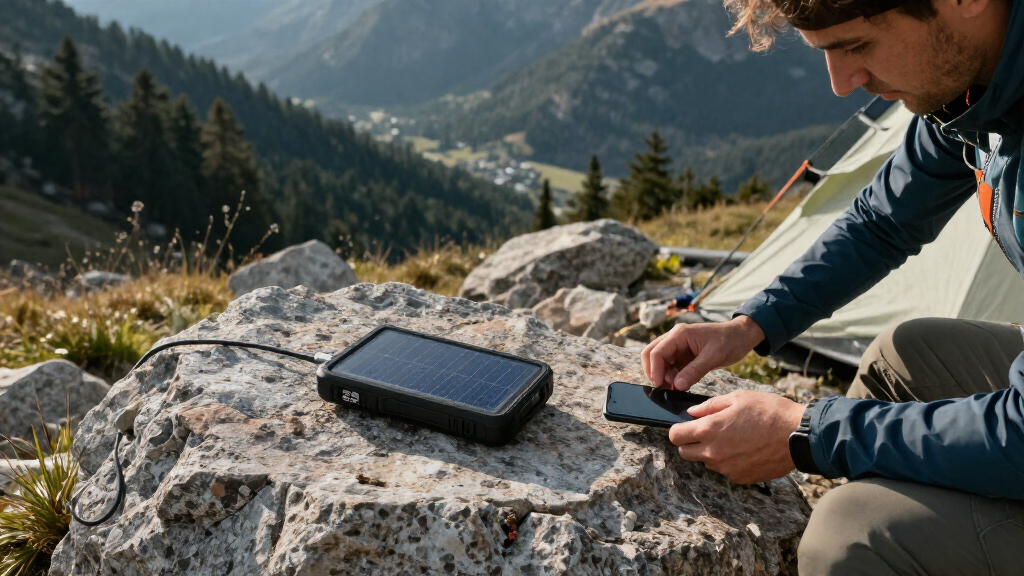
A portable solar power bank stores electricity in a rechargeable battery and can replenish that battery using sunlight. It usually delivers power through USB ports, so you can charge a phone, GPS unit, headlamp, or other compatible small device away from a wall outlet. The main difference between models is whether solar is a slow backup feature or a practical charging source. Compact solar power banks pair a battery with a small built-in panel. They’re convenient to carry, but the panel may need many hours or days of favorable sunlight to refill a drained battery. For example, a hiker can clip one to a pack and let it gather some energy over a sunny day, but shouldn’t count on that tiny panel to fully recharge a phone bank overnight. A portable power station with a separate foldable panel is a different tool. Its larger battery and panel can support faster solar charging in good conditions, and some models can power laptops, lights, or selected appliances. They also weigh more and cost more, which makes them easier to justify at a car campsite than on a long backpacking route.- Compact bank: easier to carry; panel usually provides slow backup charging.
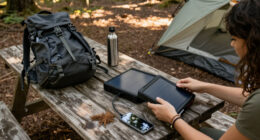
- Power station and separate panel: more stored energy and solar input; heavier and bulkier.
Products Worth Considering
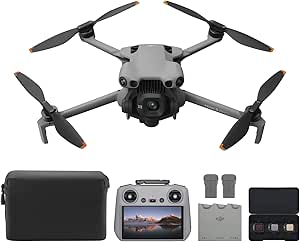
DJI Mini 5 Pro Fly More Combo with DJI RC 2

Samsonite Ascella 4 Carry-On Spinner Luggage, Black

Bose QuietComfort Wireless Headphones – Twilight Blue (Limited Edition)
As an affiliate, we earn on qualifying purchases.
How to read capacity numbers and estimate phone charges
A power bank’s watt-hours (Wh) give you a more useful way to compare stored energy than its milliamp-hour (mAh) figure alone. Manufacturers often state mAh at the battery’s internal voltage; voltage conversion and charging losses mean the usable energy that reaches your phone is lower than the headline capacity suggests. A bigger printed number doesn’t guarantee a fixed number of phone charges. For instance, imagine comparing two banks while packing for a weekend away. One has a higher mAh figure, but the other lists Wh, weighs less, and offers a USB-C port at a power level your phone can use. The second could be the better fit, even if its marketing number looks smaller. Check capacity, weight, ports, and output wattage together. To estimate how many charges you’ll get, compare the bank’s usable Wh with your phone battery’s energy in Wh, then allow for conversion losses. Treat the result as a planning estimate, not a promise: cable quality, charging behavior, and the devices you use while charging can change the outcome. A GPS unit and headlamp also draw from the same supply, so a bank that looks generous for a phone alone may feel smaller on a multi-day trip. What they are matters less than what they deliver. Look for the Wh rating, maximum output wattage, supported charging protocols, and USB-C input rating. Those details tell you both how much energy the battery stores and how quickly it can receive or supply it. [1]Why a tiny built-in panel won’t recharge your bank overnight
A small built-in solar panel can add charge, but it’s usually best treated as an emergency trickle charger. Its surface area limits how much sunlight it can turn into electricity, and real-world output drops with clouds, shade, poor angle, heat, and short winter days. The advertised panel wattage is typically a peak figure, not a guaranteed everyday rate. Picture a bank clipped to a backpack while you walk through a forest. The panel gets bright midday sun in a clearing, then spends the next hour under trees or tilted away from the sun. It may collect some useful energy over the day, but that is a different result from a full recharge. A cloudy winter afternoon cuts into the same plan further because the sun is lower and daylight is shorter. If you depend on solar power for several days, a separate foldable panel can make more sense. Its larger surface can supply more energy in good conditions, though you still need to position it and protect its connections. A portable solar power setup is a bit like a garden hose: a narrow stream can help, but it won’t fill a large tank quickly. USB charging from a wall outlet is usually more predictable. Before a trip, charge the bank fully by cable. Then treat sunlight as extra support unless the product’s panel size and manufacturer estimates match your actual energy needs. [1]How to choose a bank that fits your trip
Choose a portable solar power bank by matching its stored energy, charging output, panel, and weight to the devices you’ll use. A phone, GPS unit, or headlamp needs less power than a laptop or appliance, so check both the battery capacity and the ports that feed your gear. The right purchase for a day hike may be frustratingly small at a campsite. Start with a realistic example: for a day hike, you might want enough stored energy to top up a phone and GPS unit without adding much weight. For a car-camping weekend, you may prefer a larger battery and separate panel that can support lights and several devices. If you want to charge a laptop, confirm the bank’s maximum output wattage and port compatibility first; a USB-C socket alone doesn’t guarantee it can deliver enough power. Use these checks before you buy:- List your devices and check their charging ports and power requirements.
- Compare battery capacity in Wh, then weigh that against the pack or car space you have.
- Check output and input wattage, including the USB-C limits and charging time estimates.
- Look at panel power and size; a separate foldable panel is more useful when solar is part of your plan.
- Read the weather rating and warranty for the battery and panel separately.
How to use solar charging more reliably outdoors
Solar charging works best when you treat sunlight as variable and keep a charged battery between the panel and your devices. The bank can buffer changing light, providing a steadier supply than a device plugged straight into a panel whose output rises and falls with passing clouds. Some products support direct solar charging, but check the manual for the intended setup and limits. At a sunny campsite, for example, place a foldable panel where it gets open sun, then adjust its angle as the sun moves. Keep the battery unit shaded if its instructions call for it, and protect ports from dust and moisture. If you’re hiking, a small built-in panel can gather some energy while you move, but don’t count on it to match the power you use on navigation or photos. Weather and safety details matter. “Water-resistant” does not mean safe to submerge, and the battery unit may have a different rating from its panel. Follow the product’s stated limits, keep charging connections dry, and avoid leaving equipment in conditions the maker excludes. If children are around a campsite with lights or electrical gear near water, keep devices and cables out of reach and supervise them closely; power equipment doesn’t replace active water supervision or drowning-prevention measures.- Use an outlet to charge the bank before departure when available.
- Give a panel clear sun and reposition it as conditions change.
- Use the bank as a buffer when sunlight is uneven.
- Check each component’s weather rating and keep ports protected.